This article will cover how to use SimplePart’s new camera app and manage photo submissions in the Control Panel. With the camera app, you can take photos of parts and accessories, review them in the Control Panel, and easily add them to your parts site.
Using the Camera App
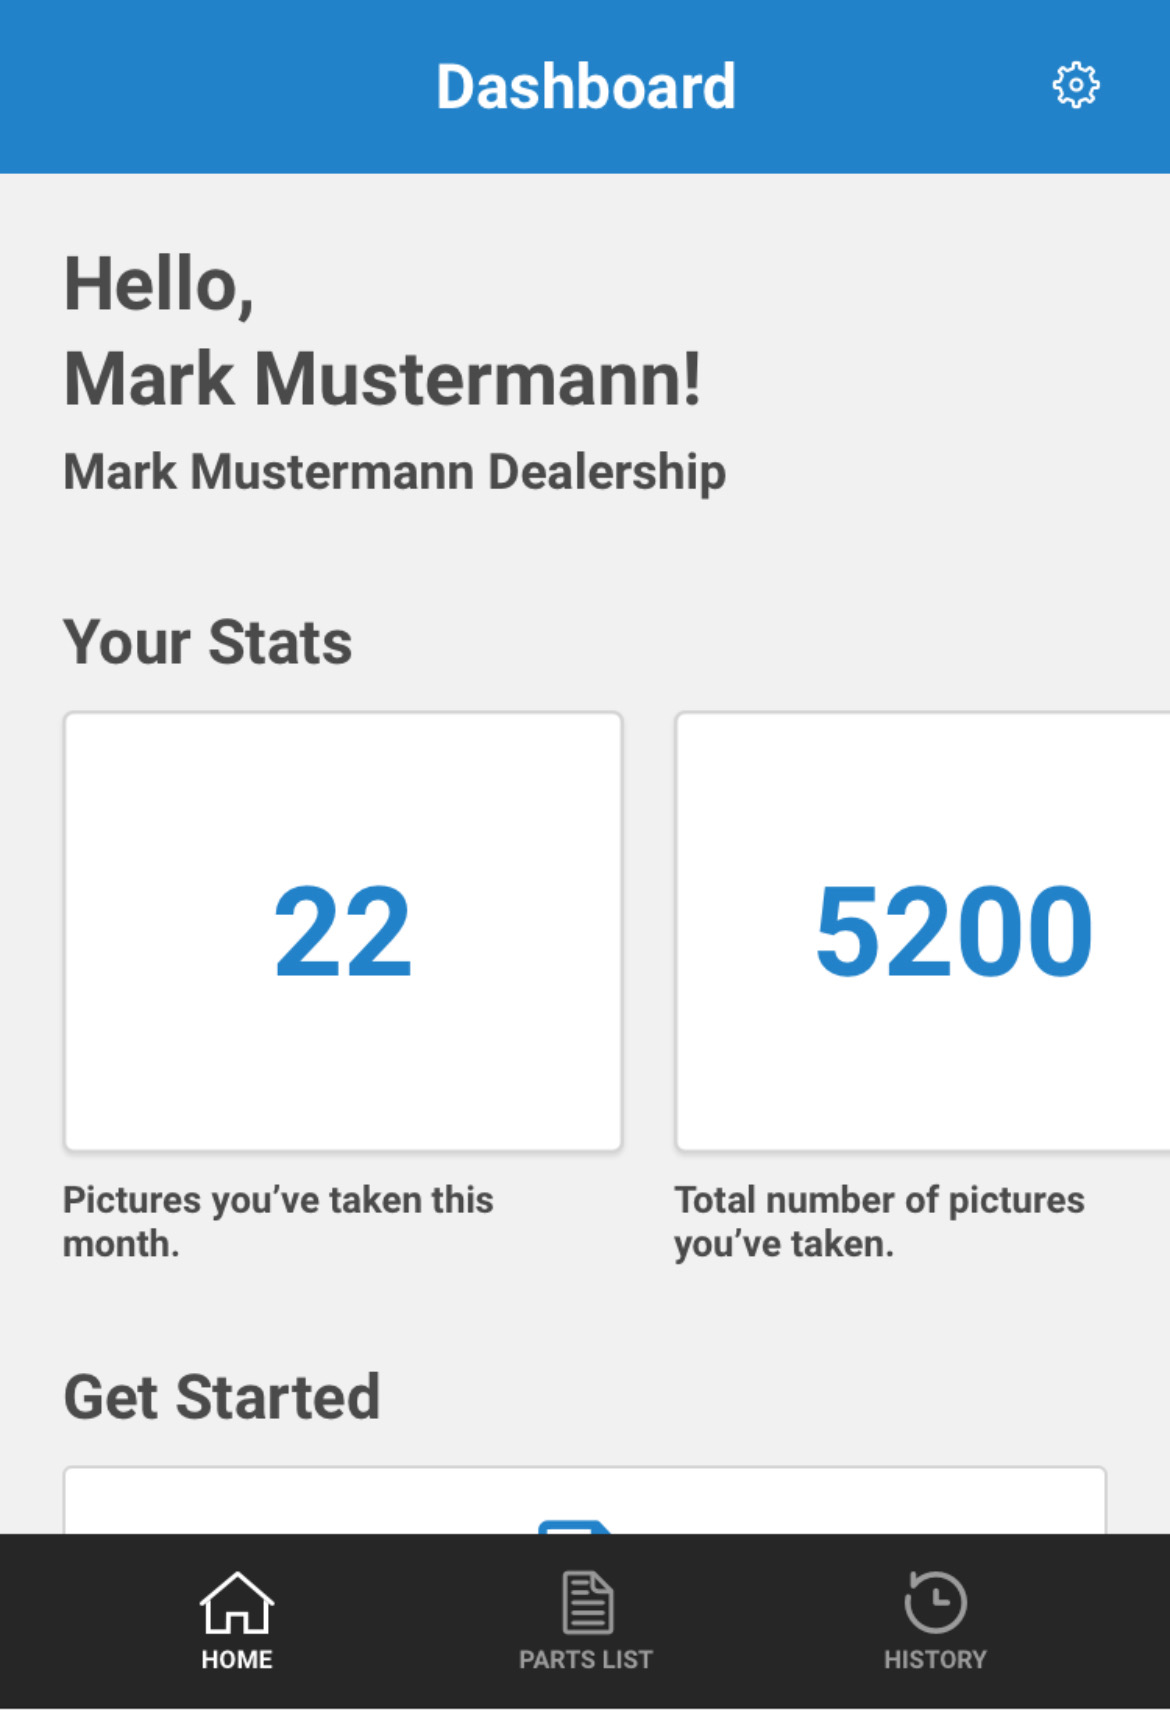
To get started, go to camera.simplepart.com on your mobile device. Once you log in with your Control Panel credentials, you’ll be taken to the homepage which shows your name, dealership, and the number of photos you’ve taken on the app.

To take photos, click the View Parts to Photograph button. You’ll see a list of parts and the prices associated with them. From there, you just select the part you want to add photos of.
Once you’ve made your selection, the app allows you to take and upload three photos of that part. SimplePart recommends taking photos of the product from the front, back, and side on a white background with good lighting. It’s also helpful to have a ruler and a digital scale with you to measure the product weight and dimensions. Adding this information can give your customers better shipping estimates.

You will then enter the part dimensions in the blank fields and click Submit. You can find all submitted photos under History at the bottom of the screen. New photos will be in the Pending tab, where they are reviewed and approved to add to your parts site.
Submitted Images
After the photos are submitted, they are automatically synced to the Control Panel under the ‘SimplePart Image Review’ page. On both the camera app and the Control Panel, you will find three tabs: Pending Submissions, Approved Submissions, and Rejected Submissions. You can easily access any actions taken once images are submitted through the app or the Control Panel. You can also use both tools to find all photo submissions by using the search bar.

Reviewing Images
Pending photos are shown under the Pending Submissions tab where another member of your team can review elements like image quality, dimensions, etc.
Select the photos and dimensions you want to approve by clicking the checkboxes below the images, then click Approve Selected. From there, you can review the photos, select a primary image to appear on the product page, and click Submit. Any photos that were not selected are automatically rejected, and a pop-up window will appear for you to select or provide a reason for the rejected photos. These are helpful in giving feedback to your team about how to take better photos.
Once photos are approved, you can expect them to be added to the site on the following Tuesday or Thursday–whichever day is sooner. For example, if you add photos on a Monday, they will be uploaded to your site Tuesday morning EST.
